My Best Homemade Dog Treats Recipe

Let’s discuss homemade dog treats… Are you tired of buying store-bought treats that are packed with preservatives and unknown ingredients?
Well, I’ve got a pawsome solution for you, which is some homemade dog treats!
In this blog post, I’ll share some easy and delicious recipes that will have your furry friend wagging their tail in delight.
So grab your apron, let’s get baking, and give your pup the love they deserve with these homemade goodies!
Guideline to Making Homemade Dog Treats

Making homemade dog treats can be a fun and rewarding activity for both you and your furry friend.
It allows you to control the ingredients and ensure that your dog is getting a healthy and tasty snack.
Here are some steps to guide you through the process:
1. Choose a Recipe: There are numerous recipes available for homemade dog treats, ranging from simple to more complex ones. You can find recipes online, in pet care books, or even from other dog owners. When selecting a recipe, consider your dog’s dietary needs and any allergies they may have. Look for recipes that use dog-friendly ingredients such as peanut butter, pumpkin, oats, and carrots.
2. Gather Ingredients: Once you’ve chosen a recipe, gather all the necessary ingredients. This may include flour, oats, peanut butter, eggs, and other dog-safe ingredients. It’s important to ensure that all the ingredients are safe for dogs and that there are no harmful additives.
3. Prepare the Dough: Follow the recipe instructions to prepare the dough. This may involve mixing the ingredients together in a bowl until a dough forms. Some recipes may require baking, while others may involve freezing or refrigerating the treats.
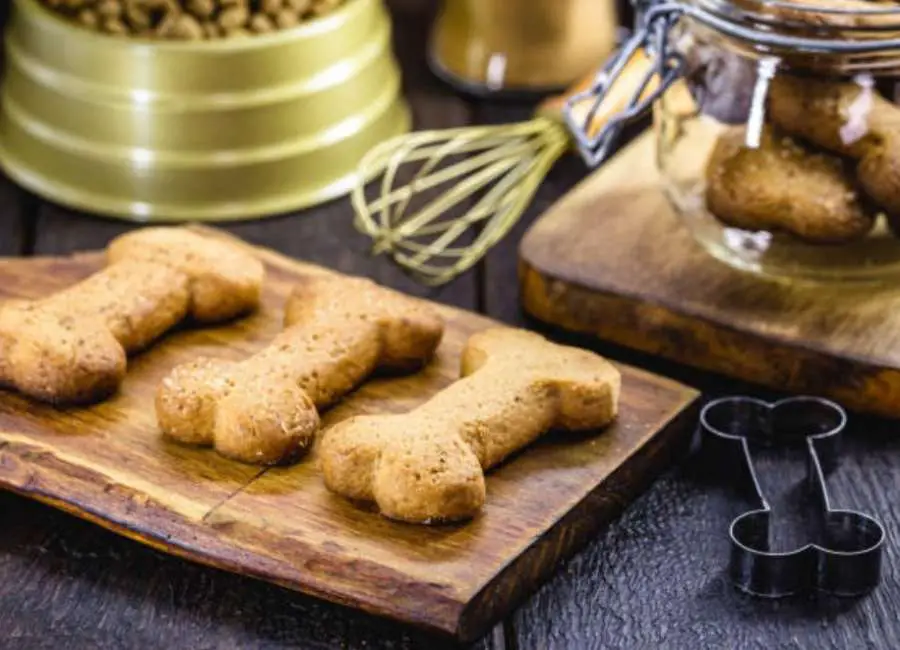
4. Shape the Treats: After preparing the dough, it’s time to shape the treats. You can use cookie cutters to create fun shapes or simply roll the dough into small balls. Get creative and have fun with different shapes and sizes.
5. Bake or Set: If the recipe requires baking, preheat the oven to the specified temperature and place the treats on a baking sheet. Bake them according to the recipe instructions. If the recipe calls for setting in the refrigerator or freezer, follow those instructions instead.
6. Cool and Store: Once the treats are done baking or setting, allow them to cool completely before giving them to your dog. Store the treats in an airtight container to keep them fresh. Be mindful of the treat’s shelf life, and consider refrigerating or freezing them if necessary.
7. Enjoy with Your Dog: Finally, it’s time to share the homemade treats with your dog. Watch their excitement as they enjoy the delicious and nutritious snacks you’ve made just for them.
My Best Homemade Dog Treats Recipe

Making homemade dog treats can be a fun and rewarding activity while ensuring that your furry friend gets healthy and tasty treats.
Let’s go through the process step by step, shall we?
Here’s what you’ll need for your homemade dog treats:
Ingredients:
- 2 ½ cups whole wheat flour
- 2 eggs
- ½ cup canned pumpkin
- 2 tablespoons peanut butter
- ½ teaspoon salt
- ½ teaspoon ground cinnamon
- 2 teaspoon water
Now, let’s make those delicious treats:
Step 1: Preparing the Oven
Preheat your oven to 350°F (175°C). This will ensure that it’s ready when it’s time to bake the treats.
Step 2: Mixing the Dry Ingredients
In a large mixing bowl, combine the whole wheat flour, salt, and ground cinnamon. Give it a good stir to evenly distribute the ingredients.
Step 3: Adding the Wet Ingredients
In a separate bowl, whisk together the eggs, canned pumpkin, peanut butter, and water until they are well combined. The pumpkin and peanut butter will provide flavor and moisture to the treats.
Step 4: Combining the Ingredients
Now, pour the wet ingredients into the bowl with the dry ingredients. Use a spatula or your hands to mix everything together until a dough forms. If the dough feels too dry, you can add a little more water, but be careful not to make it too sticky.
Step 5: Rolling and Cutting the Treats
Sprinkle some flour onto a clean surface and place the dough on top. Roll it out to about 1/4 inch thickness. You can use a rolling pin to make it easier. Then, use cookie cutters in your desired shapes to cut out the treats. Repeat the process, re-rolling the dough as needed until all the dough is used up.
Step 6: Baking the Treats
Place the cut-out treats on a baking sheet lined with parchment paper or a silicone baking mat. Bake them in the preheated oven for about 20 to 25 minutes or until they become golden brown. Keep an eye on them to prevent burning.
Step 7: Cooling and Storing
Once the treats are baked, remove them from the oven and let them cool completely on a wire rack. This will allow them to become crisp. Avoid giving hot treats to your dog, as they can be too hot and cause discomfort. Once cooled, store the treats in an airtight container to maintain freshness.
Read more about homemade dog food.
Related Questions
Can I use regular ingredients from my kitchen to make homemade dog treats?
Absolutely! Homemade dog treats can be made using ingredients that are commonly found in your kitchen. However, it’s important to be mindful of certain foods that are toxic to dogs, such as chocolate, onions, and grapes. Stick to dog-friendly ingredients like peanut butter, pumpkin, carrots, and oats to ensure your treats are safe and delicious for your furry friend.
Are homemade dog treats healthier than store-bought ones?
Homemade dog treats can be a healthier option compared to store-bought ones. When you make treats at home, you have full control over the ingredients, allowing you to avoid preservatives, artificial colors, and excessive amounts of sugar or salt. By using wholesome ingredients, you can provide your dog with nutritious and tasty treats that support their overall well-being.
How long do homemade dog treats last?
The shelf life of homemade dog treats can vary depending on the ingredients used and the storage conditions. Generally, treats made without preservatives will have a shorter shelf life compared to store-bought treats. To ensure freshness, it’s best to store homemade treats in an airtight container in the refrigerator. Treats made with perishable ingredients like meat or cheese should be consumed within a week, while treats made with dry ingredients can last up to a month.
Can I customize homemade dog treats for my dog’s dietary needs?
Absolutely! One of the many benefits of making homemade dog treats is the ability to tailor them to your dog’s specific needs. If your dog has dietary restrictions or allergies, you can easily substitute ingredients to accommodate their needs. For example, if your dog is sensitive to wheat, you can use alternative flour like rice flour or coconut flour. It’s always a good idea to consult with your veterinarian before making any major changes to your dog’s diet.
Can I use homemade dog treats for training?
Definitely! Homemade dog treats can be a great tool for training and rewarding your furry companion. Since you have control over the ingredients, you can make treats that are small, soft, and easily chewable, which are ideal for training purposes. Just make sure the treats are enticing enough to motivate your dog and that they don’t crumble too easily, as this can lead to distractions during training sessions.
Are there any specific recipes I can try for homemade dog treats?
Absolutely! There are countless recipes available for homemade dog treats. From peanut butter and pumpkin biscuits to sweet potato chews, the options are endless. You can find recipes online, in dog treats cookbooks, or even create your own. Just make sure to follow the recipe instructions carefully and avoid using any ingredients that are harmful to dogs. Your furry friend will surely appreciate the love and effort you put into making their tasty treats!
Read more about human food dogs can eat.
Conclusion
In conclusion, homemade dog treats are a fantastic way to show your furry friends some extra love.
Not only are they easy to make, but they also allow you to control the ingredients and tailor the treats to your dog’s specific needs.
So, why not grab your apron and get baking? Your pup will thank you with a wagging tail and lots of sloppy kisses!
